Did you know a fresh coat of paint can boost your home’s value by up to 5%? Painting the interior is a simple and affordable way to update your space. Whether you want to refresh one room or your whole home, we’ve got you covered.
With so many choices, picking the right paint and techniques can feel overwhelming. That’s why we’re sharing our top tips to help you get a professional finish. Our guide will take you through preparing your space to adding the final touches, all with ease.
Key Takeaways
- Choose the right paint type for your walls
- Prepare your space for painting
- Use the right tools for a smooth finish
- Avoid common painting mistakes
- Add a professional touch with finishing techniques
Choosing the Right Paint for Our Project
Choosing the right paint is key to a successful painting project. It affects both how the room looks and how long the paint lasts. There are many types of paint, each with its own use.
Types of Paint for Interior Walls
For interior walls, we often use latex, oil-based, or epoxy paints. Latex paint is easy to use and dries fast, perfect for most projects. Oil-based paint gives a hard finish but takes longer to dry and has stronger fumes.
Epoxy paint is very durable and resists stains well. It’s great for places that get a lot of use or need to be cleaned often. We need to think about our project’s needs, like the surface and finish we want.
Understanding Paint Finishes
Paint finish is how shiny or flat the paint is. We have finishes like flat, eggshell, satin, and semi-gloss. Flat finish is good for places that don’t get much use or ceilings. Satin finish is soft and durable, good for living rooms and bedrooms.
In wet areas like kitchens and bathrooms, semi-gloss finish is best. It’s durable and easy to clean. Knowing about these finishes helps us pick the right paint for our needs, making sure it looks good and works well.
“The right paint can transform a room, not just by changing its color, but by enhancing its overall ambiance and character.”
Eco-Friendly Paint Options
If we care about the environment or indoor air quality, there are eco-friendly paints. These paints have low VOCs and are made from natural stuff. Eco-friendly paints are better for our homes and the planet, without losing quality or looks.
Thinking about these eco-friendly options can make our indoor space healthier and reduce harm to the environment.
Essential Tools and Supplies We Need
To tackle your interior painting project with confidence, it’s crucial to have the right tools and supplies at your disposal. A well-prepared painter is more likely to achieve a professional finish and avoid common pitfalls.
Must-Have Painting Tools
When it comes to painting, having the right tools can make all the difference. Here are some of the must-have painting tools:
- Paintbrushes: Various sizes for different tasks, from cutting in to applying paint to trim.
- Rollers and Extension Poles: For efficiently covering large areas.
- Paint Tray: To hold and transport paint.
- Drop Cloths: To protect floors and furniture from paint spills.
Investing in quality tools, such as those recommended by professional painters near me, can significantly impact the outcome of your project.
Choosing Quality Brushes and Rollers
Selecting the right brushes and rollers is vital for achieving a smooth, even finish. Consider the following:
| Tool | Characteristics | Best Use |
|---|---|---|
| Natural Bristle Brushes | Absorbent, suitable for oil-based paints | Trim work, detailed painting |
| Synthetic Brushes | Durable, suitable for water-based paints | General painting, cutting in |
| Roller Covers | Varying nap lengths for different textures | Large surface areas, textured surfaces |
As noted by experts, “The right brush or roller can make a significant difference in the final appearance of your paint job.”
“A good painter is always only as good as his tools.” –
Safety Gear for Painting
Safety should always be a top priority when painting. Essential safety gear includes:
- Gloves: To protect your hands from paint and chemicals.
- Masks: To prevent inhalation of paint fumes and particles.
- Protective Eyewear: To safeguard your eyes from splatters.
By equipping yourself with the necessary tools and safety gear, you’ll be well on your way to a successful painting project that not only looks great but is also done safely.
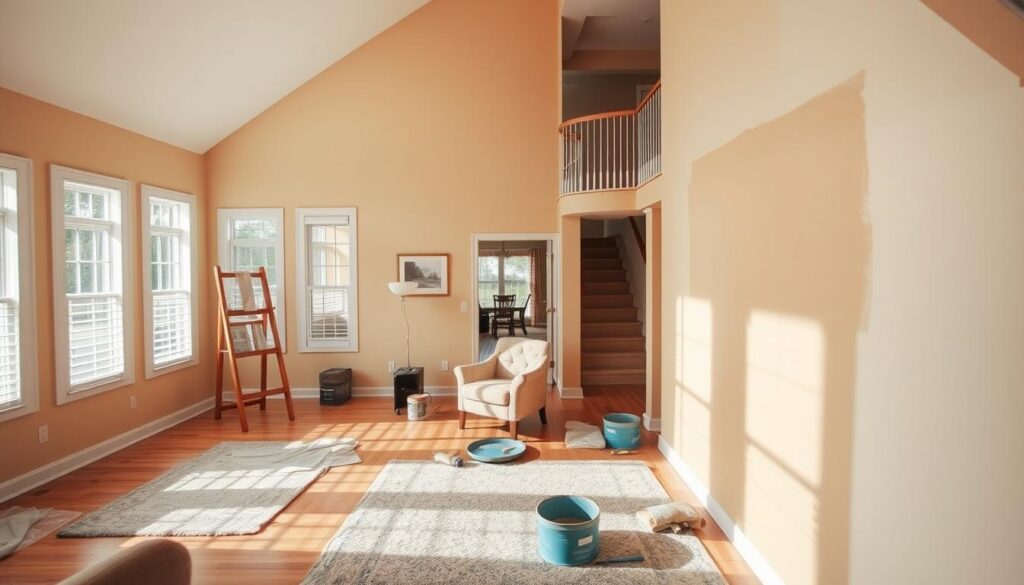
Preparing Our Space Before Painting
Before we start painting, we need to get our space ready. This makes the painting smoother and the result better. It also helps the paint last longer.
Clearing the Room Effectively
First, we clear the room for painting. We move out as much furniture as we can. For big or heavy items, we cover them with drop cloths or plastic sheets.
We also take down wall decorations, outlet covers, and switch plates. This ensures we paint everything properly.
Protecting Furniture and Flooring
Protecting our furniture and floors is key to avoid damage. We use drop cloths or plastic sheets to cover them. For extra safety, we tape the edges of trim and baseboards.
For more tips, check out Home Depot’s guide on preparing a room for painting.
Repairing Walls and Surfaces
Before painting, we fix any wall damage. We fill holes, sand rough spots, and clean the walls. This makes the paint go on smoothly.
| Preparation Task | Description | Importance Level |
|---|---|---|
| Clearing the Room | Remove furniture and cover remaining items | High |
| Protecting Flooring | Use drop cloths or plastic sheets | High |
| Repairing Walls | Fill holes, sand rough patches, and clean walls | High |
| Masking Trim | Apply tape around trim and baseboards | Medium |
By following these steps, we make sure our space is ready for painting. This makes the painting process better. Using a house painting cost estimator helps us plan and budget too.
Selecting the Right Color Palette
A well-chosen color palette is key to a beautiful interior. It sets the mood of your home. The right colors make your space feel welcoming and show off your style.
Using Color Psychology in Our Home
Color psychology is important in interior design. Different colors can make us feel different ways. For example, blue tones bring calmness, great for bedrooms. Vibrant yellows boost energy, perfect for kitchens or offices.
Think about how colors affect you and your family. Pick colors that look good to you and make each room work better.
Testing Paint Samples
Testing paint samples is a must before choosing a color. It shows how the color looks at different times and under different lights. Natural light changes color appearance, so test in morning and evening light.

Testing samples helps avoid expensive mistakes. It ensures the color goes well with your furniture and decor.
Considering Lighting and Space
Lighting and space are key when picking colors. Light colors make rooms feel bigger. Dark colors create a cozy feel. But, dark colors can make rooms seem smaller if not balanced right.
Also, think about your home’s lighting. Rooms with lots of natural light can handle more colors. Rooms with little natural light might need lighter shades to avoid a dark feel.
By thinking about color psychology, testing samples, and considering lighting and space, we can make our interiors beautiful and functional. For more tips, check out interior house paint reviews to find the best paint for your project.
Planning Our Painting Process
To make painting smooth and stress-free, we need a good plan. A well-thought-out plan helps us get a professional look and stay on budget for affordable interior painting.
Creating a Painting Timeline
First, we must make a timeline for our painting project. We start by clearing the room and protecting our furniture and floors. This can take a day or two, depending on the area’s size.
Next, we fix any wall damages and apply primer if needed. After that, we can begin painting. This usually happens after a day or two of prep work. For more help, we can look at painting guides with step-by-step tips.
Deciding on a Painting Method
We have two main choices: painting ourselves or hiring pros. DIY painting saves money but takes time and effort. It also means buying materials and tools ourselves.
Hiring pros saves time and ensures quality but costs more. We should think about our budget and what we prefer for affordable interior painting.
Painting Techniques We Should Consider
There are several painting techniques to pick from. Brushing is great for edges and corners. Rolling works well for big, flat areas. Spraying gives a smooth finish but needs more prep and gear.
We should pick the techniques that match our project and skill level.
Techniques for a Smooth Paint Application
Learning how to apply paint is key for a perfect finish. When painting our homes, the right methods make a big difference. They help us get a professional look.
Brush vs. Roller Techniques
Brushes and rollers each have their own use in painting. Brushes are great for edges, corners, and trim. They give us precision and control. Rollers, on the other hand, are best for big, flat areas. They help us cover more space fast.
Choosing between a brush or roller depends on the surface. For textured walls, a thick-nap roller is needed for even coverage. Smooth surfaces do well with a shorter-nap roller.
Cut-In vs. Rolling Walls
Cutting in means painting edges and corners with a brush. It’s a key step before rolling the main areas. For good cut-in, use a quality brush and work in sections for even coverage.
Rolling walls means using a roller for the big areas. To avoid streaks, work in W or M patterns. This keeps the paint wet and prevents roller marks.
Avoiding Common Painting Mistakes
To get a smooth paint job, we must avoid common errors. Here are some tips:
- Always prepare the surface before painting.
- Use the right tools, like quality brushes and rollers.
- Paint in well-ventilated areas and keep a steady pace.
- Don’t paint in direct sunlight or extreme temperatures.
By following these interior painting tips and tricks, we can get a smooth, professional paint job. Whether painting one room or the whole house, the right techniques and prep are crucial.
Adding Finishing Touches After Painting
Finishing the painting is just the start. Now, we must inspect, clean, and decorate. After all the hard work, it’s key to complete the job with important steps.
Touch-Ups and Final Inspections
First, we should check the walls for any mistakes or missed spots. Touching up these areas will make the finish perfect. Look for paint drips, uneven spots, or old paint showing through.
It’s smart to examine the paint job under different lights. This helps catch any problems that might not show up in regular light.
Cleaning Up Our Workspace
After painting, cleaning our tools and equipment is crucial. Wash our brushes and rollers with soap and water. Also, throw away any leftover paint and materials safely.
If you don’t want to dispose of paint yourself, many places have hazardous waste collection facilities for it.
Decorating After the Paint Dries
When the paint is dry, we can put back our furniture and decorations. This is a chance to update our decor with new items or change our layout.
With our new walls, we can show off our favorite things. This makes our home welcoming and stylish.
Maintaining Our Newly Painted Walls
After spending time and effort on painting the interior of our home, we must keep the walls looking great. This means regular cleaning, fixing scuffs, and knowing when to repaint.
Good maintenance keeps the paint looking good and lasts longer. It’s all about cleaning, fixing marks, and knowing when to redo the paint.
Cleaning Painted Surfaces
Cleaning painted walls is easy but needs care to avoid damage. Use a soft, damp cloth to wipe down the walls. This removes dirt and grime.
For tough stains, a mild detergent solution works well. But test it first on a small area. Avoid harsh chemicals and abrasive materials that can harm the paint or leave scratches. Dusting with a dry cloth helps keep the walls looking good between deep cleans.

Touch-Up Tips for Longevity
Walls can get scuffed or marked, even with care. Keep leftover paint for touch-ups. Use a small brush to paint over marks, blending the edges well.
For bigger damage like holes or cracks, repair the wall first. Use spackling compound, sand it, and prime if needed before painting.
When to Repaint Our Interior
Paint wears out over time, even with good care. Fading, cracking, and peeling are signs it’s time for a new coat. Regular checks help spot these problems early.
When deciding to repaint, look at the paint’s condition. A simple touch-up might be enough, or a full repaint might be needed. Changes in taste or home decor can also prompt a repaint.
By keeping up with maintenance and fixing issues quickly, our painted interior will stay beautiful for years.
Common Challenges and How We Overcome Them
Painting our home’s interior can be rewarding but comes with challenges. Even with careful planning, problems can still happen. We need to know how to solve them for a professional finish.
Managing Paint Drips and Runs
Paint drips and runs are common issues. We can fix them by gently wiping with a damp cloth before it dries. If it’s dried, sanding lightly and touching up with a brush works. Hiring professionals for home painting services can also help.
Handling Different Wall Textures
Different wall textures need special care when painting. For textured walls, a roller with an extension pole works well. For detailed textures, a brush is better. Knowing the right technique for your wall texture is key for a smooth finish.
Troubleshooting Color Issues
Color problems, like mismatched colors or uneven coverage, can be tough. To prevent these, test paint samples on your walls first. If you face color issues, adjust your painting or get help from home painting services to fix it.

